
Getting Started
Control OBS connects to OBS Studio over a local network or remote connection using the OBS WebSocket protocol. This guide walks you through enabling the WebSocket server in OBS and adding your first device in the app.
Before you begin
You will need:
Step 1 - Enable the WebSocket server in OBS
Open WebSocket Server Settings
In OBS Studio, go to Tools in the menu bar and select WebSocket Server Settings.
Enable the server
Tick the Enable WebSocket server checkbox. Leave the port as 4455 unless you have a specific reason to change it.
Set a password (recommended)
Tick Enable Authentication and set a password. This prevents other devices on your network from connecting to OBS without permission.
Click OK
The WebSocket server will start immediately. Leave this window open if you want to scan the QR code in the next step.
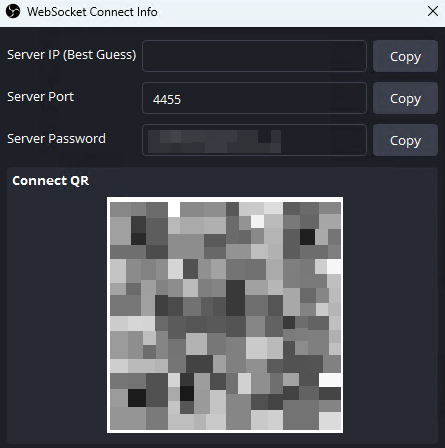
OBS WebSocket Server Settings - found under Tools in the menu bar
Step 2 - Add a device in the app
Open Control OBS on your phone and tap Add Device. You can connect using a QR code scan or by entering the details manually.
Option A
Scan QR code
In the OBS WebSocket Server Settings dialog, click Show Connect Info. A QR code will appear. Tap Scan OBS QR Code in the app and point your camera at it. All connection details will fill in automatically.
Option B
Enter manually
Enter your computer's local IP address (e.g. 192.168.1.100), port 4455, and your WebSocket password if you set one.
Not sure of your IP address? On Windows, open Command Prompt and run ipconfig. Look for the IPv4 address under your Wi-Fi adapter. On Mac, go to System Settings › Wi-Fi › Details and look for the IP Address field.
Step 3 - Connect
Tap Add Device to save and connect. If the connection is successful, your scenes and audio sources will appear straight away.
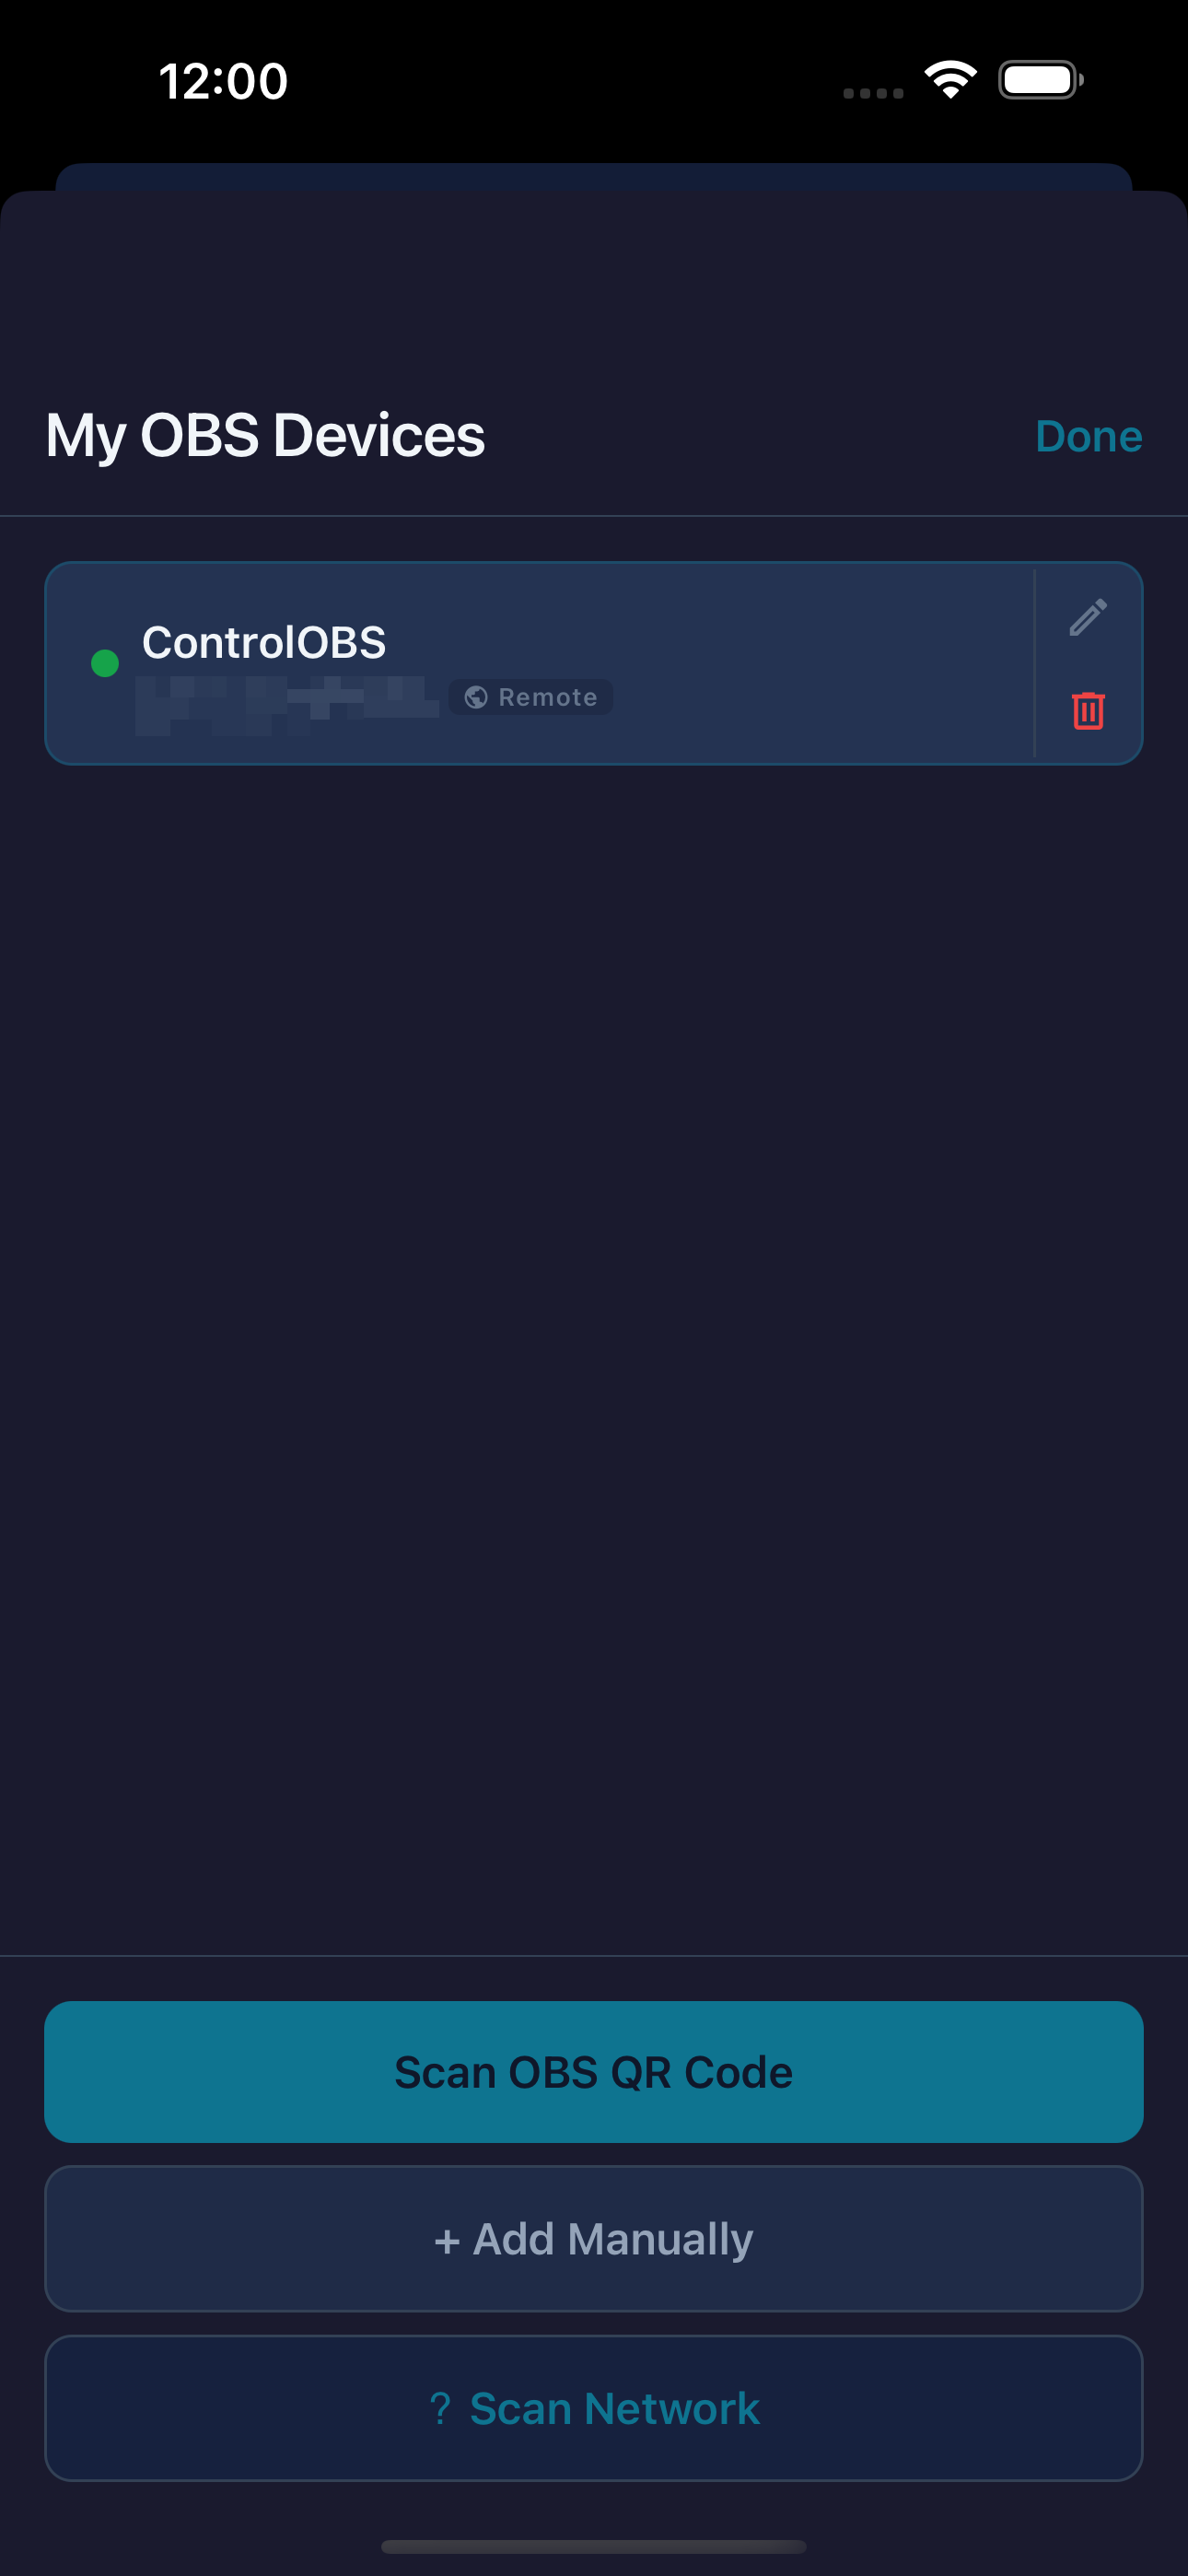
A connected device showing scenes and audio sources
If the app cannot connect, see the Troubleshooting guide for a checklist of common causes.